
Your iPhone stopped working with a touchscreen, the screen went blank, stripes appeared on display, or the picture quality deteriorated significantly, and didn’t a reboot or rewrite result in the desired result? Then only the iphone display replacement will correct the situation. Changing the display of the iPhone is quite realistic at home. It will take 40-50 minutes of free time.
Preparing for iPhone Display Replacement
Before starting the analysis, check the battery charge – it should be minimal (up to 25%). Also, turn off the phone. Removing the display will damage the waterproof seals. Therefore, be careful and avoid spilling water on your smartphone during and after the repair is completed. To keep the iPhone waterproof, replace the seals. When choosing a new screen, buy an item with a front camera, touch panel, and LCD. If any elements are missing, then you need to transfer them to the new module from the old one.
Instruments
You will need the following tools: nylon spatula, an opener to soften glue or a regular hair dryer, plastic card, antistatic tweezers, and a set of screwdrivers.
Instructions for iPhone Display Replacement
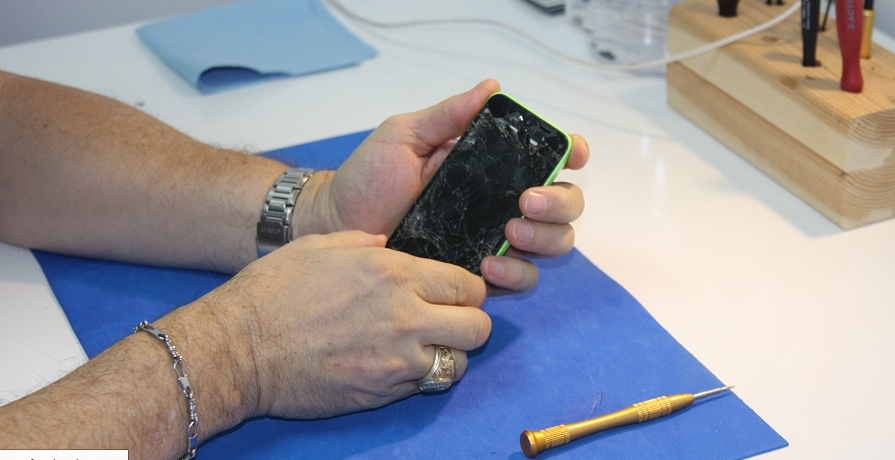
Loosen the screws on the end with a screwdriver. To soften the glue, use iOpener, placing it on the bottom edge of the smartphone. A few minutes will be enough. Just above the Home button at the bottom of the front panel position the suction cup. Make sure she does not hit the button. Now pull on the suction cup until a small gap is formed. You need to insert the flat end of the dielectric blade. The glue along the contour of the case is strong enough so to get a small gap it will be necessary to apply maximum effort. You can swing the screen up and down to loosen the seal. As soon as you can insert the tool into the bottom left edge, turn it. Now move the paddle on the left side in the direction of the volume control buttons. Such manipulation is necessary to eliminate the glue. Do not try to separate the top edge of the display from the case, since it is fixed with plastic clips that can break. Similar removal of glue should be carried out on the right side. Now pull the suction cup a little and lift the display 10 degrees. Be careful, not to damage the ribbon cables connecting the screen with the motherboard. Remove the suction cup using a small tip.
For the final elimination of glue at the top, go through the gap mediator. Pull the display up slightly to release the plastic clips. Now you can open the iPhone from left to right, like a book. At this stage, you do not need to try to completely remove the front panel, because it is still connected by loops. Inspect the “stuffing.” You should notice the main hold-down tape. Near the tape are the screws that need to be removed. Using the tweezers, remove the plate, which presses the remaining elements.
Opening the iPhone
First, remove the battery connector, located in the socket of the motherboard. The loop is recommended to bend so that it does not accidentally turn on the gadget. Using a dielectric blade or flat-tip screwdriver, disconnect the two lower stubs. When you re-connect loops …